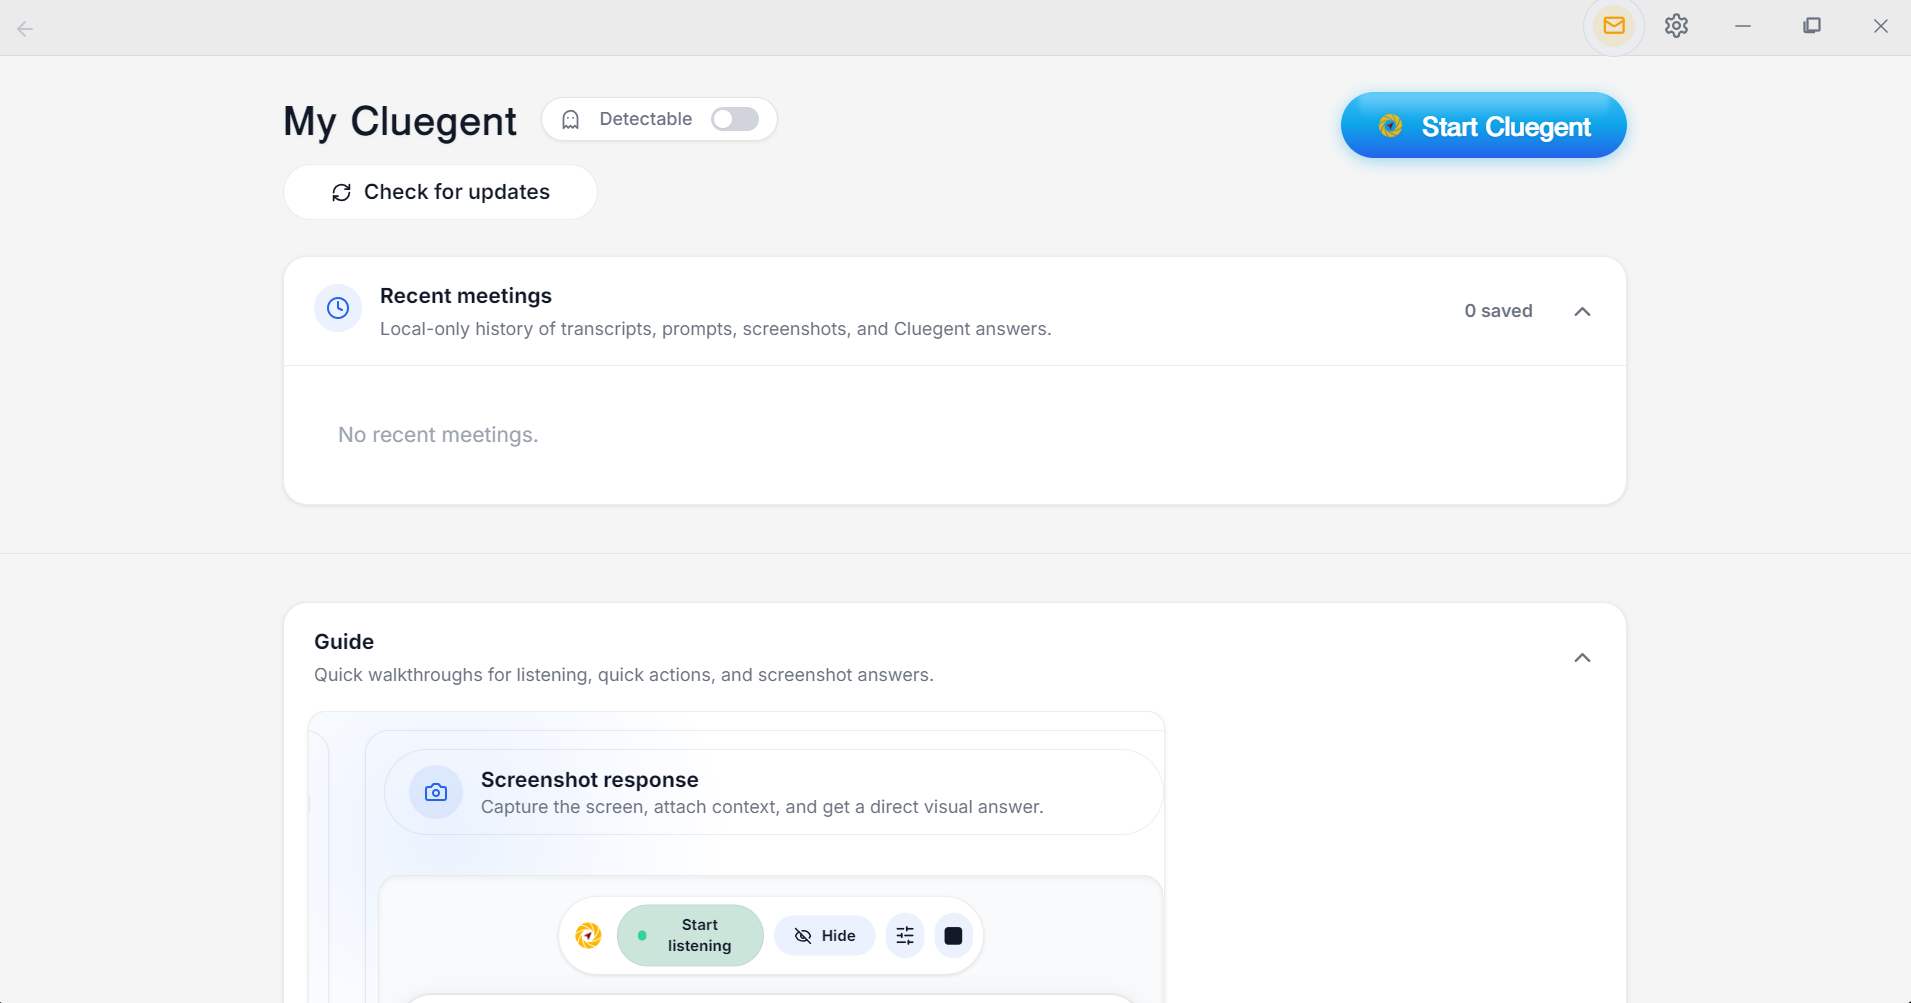
01
Switch to Undetectable and start Cluegent
Click the Detectable toggle to enable private overlay mode, then click Start Cluegent.
 Cluegent
Product walkthrough
Watch the full walkthrough, then follow the steps below to launch Cluegent, move the floating assistant, ask typed prompts, listen to conversations, and capture screenshots for coding answers.
Step by step
Cluegent stays as a movable overlay, so you can keep it anywhere on the screen while working in meetings, browsers, editors, or coding platforms.
Click the Detectable toggle to enable private overlay mode, then click Start Cluegent.
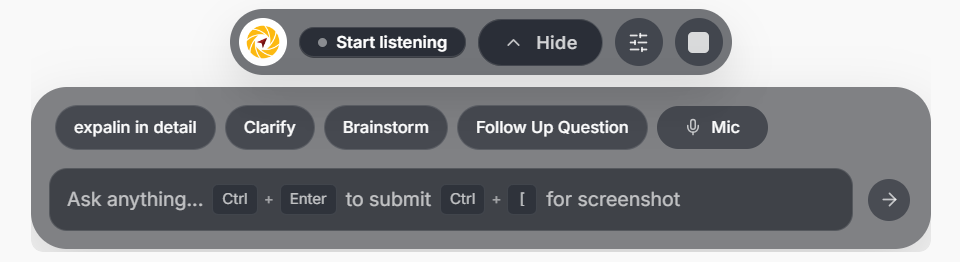
The floating bar can be positioned wherever it is comfortable while you continue using other apps.
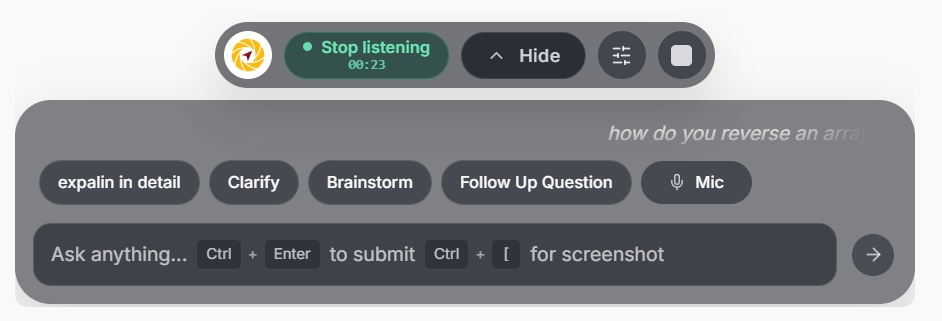
Click Start listening. Cluegent shows a rolling transcript as the conversation happens.
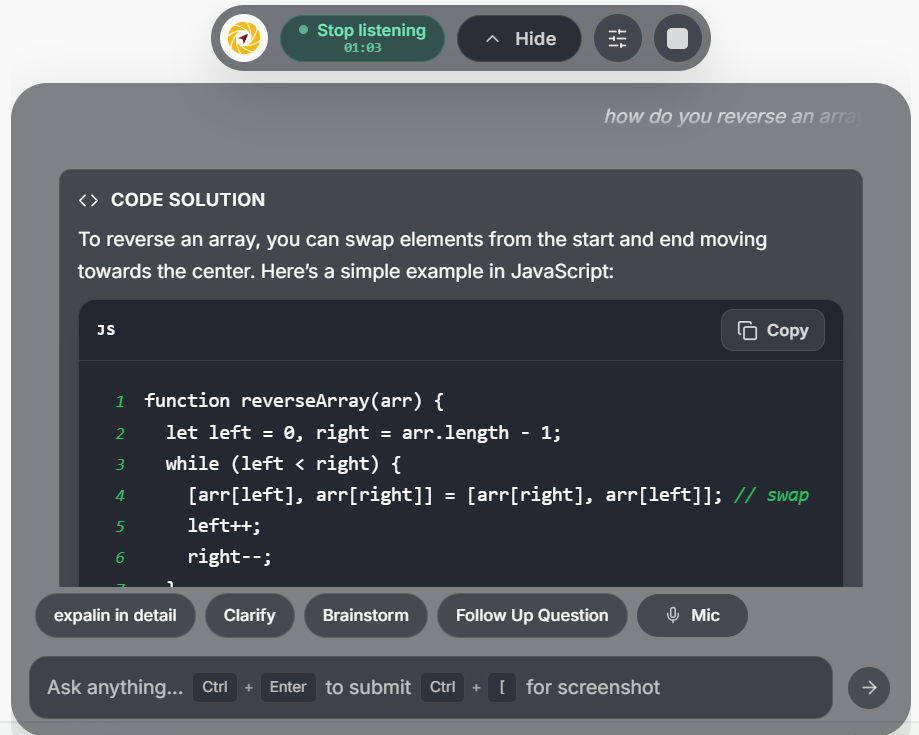
Press Ctrl + Enter to get an AI response based on the transcript.
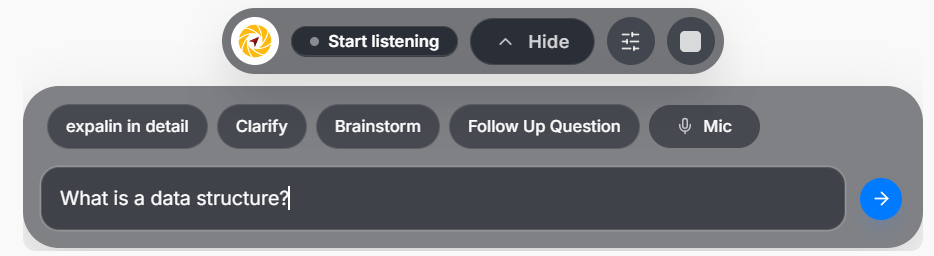
Type your question directly in the input box, then submit with the arrow or Ctrl + Enter.
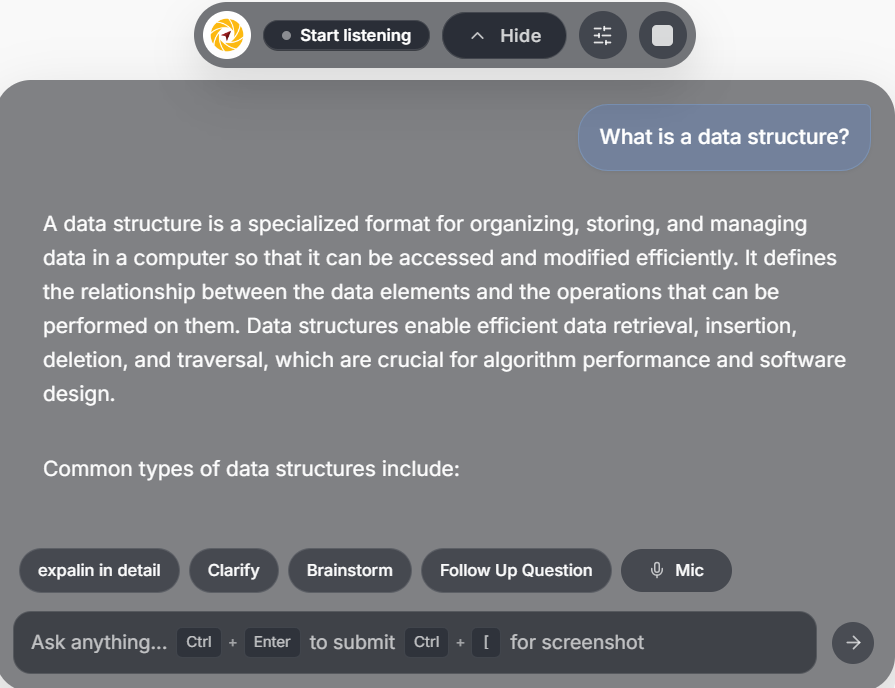
The response appears inside the same overlay, so you do not have to leave your workflow.
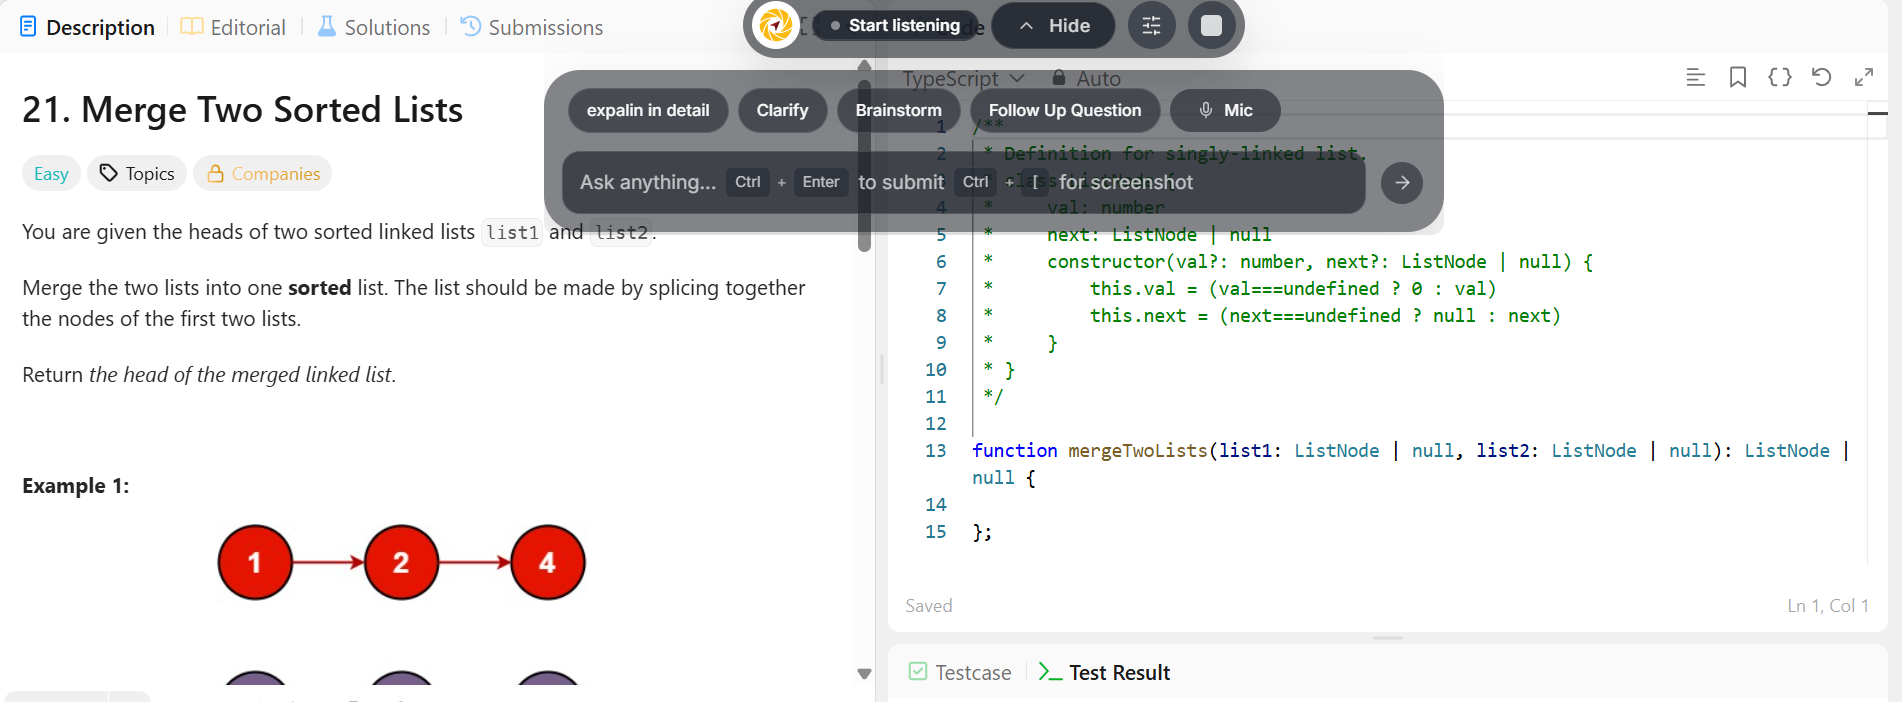
Use Ctrl + [ to attach the visible screen when you need help with code or visual context.
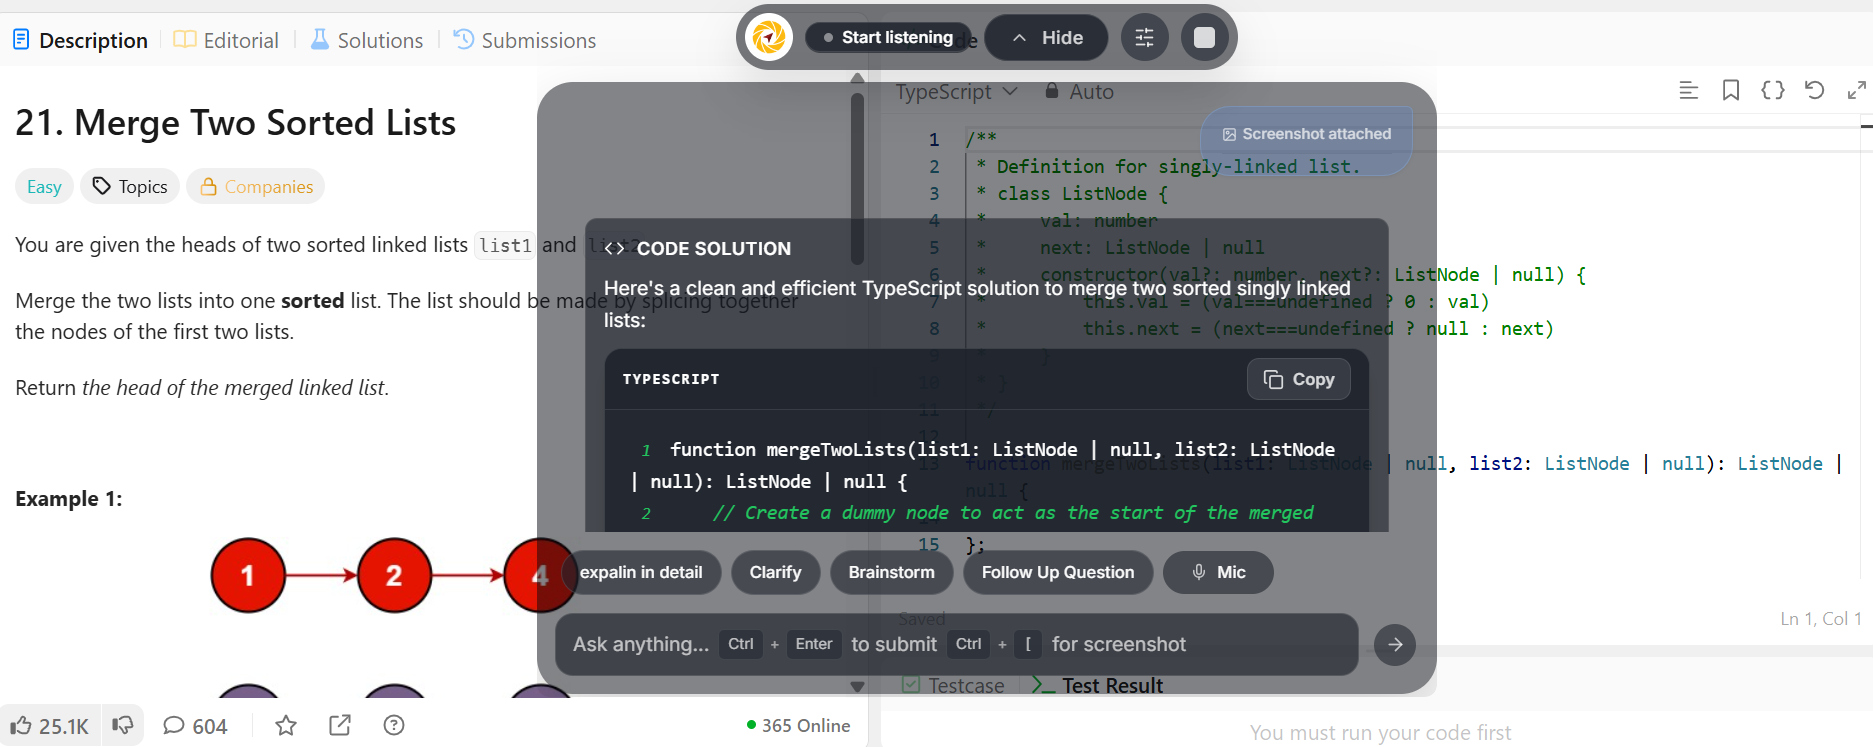
Cluegent reads the screenshot, explains the approach, and gives a practical solution.
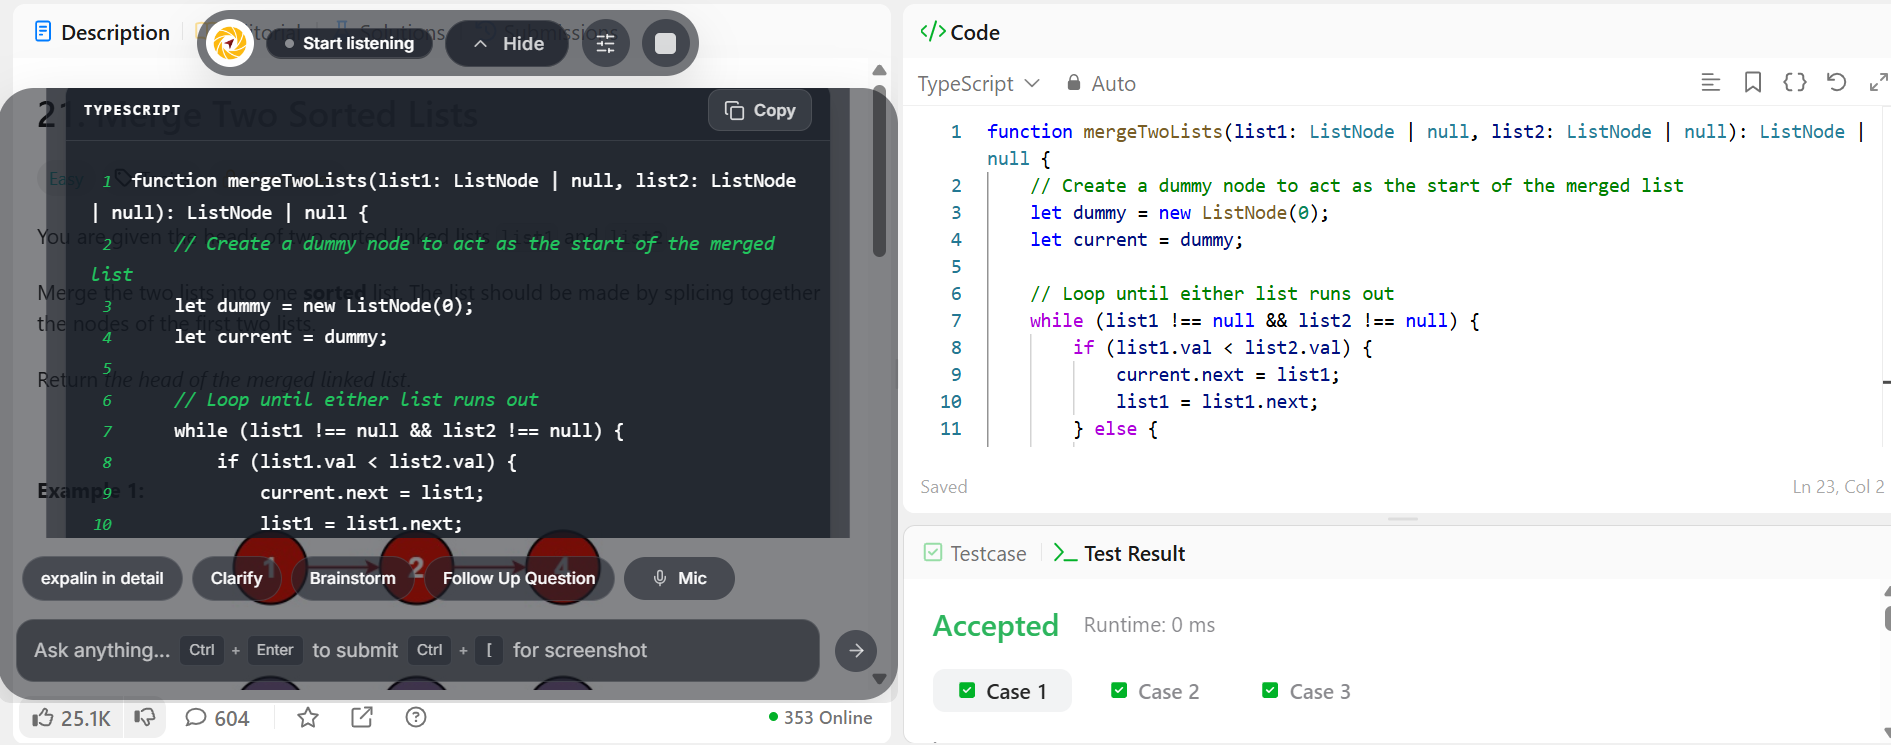
Use the answer in your editor, keep the assistant movable, and continue without breaking focus.